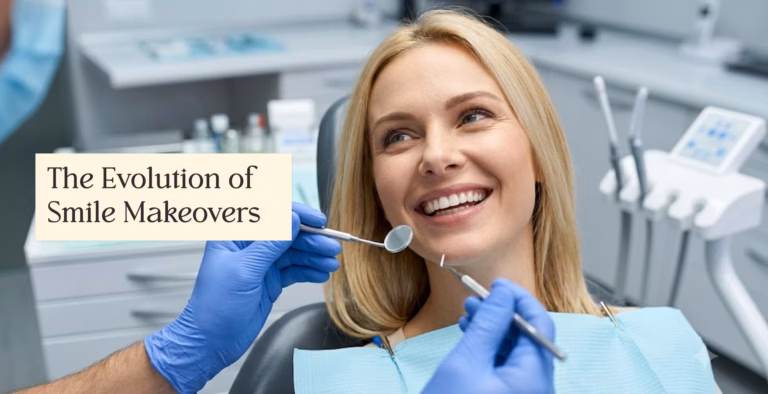
If your teeth have multiple cosmetic concerns, such as discoloration, chips, gaps, uneven length, or worn edges, a smile makeover may be the right path. Many patients who choose cosmetic dentistry through a planned smile makeover get a brighter, more natural-looking smile and feel more confident.
So, what is the smile makeover process?
The process starts with a consultation and full check-up, then your dentist creates a custom smile design and treatment plan. First, they fix any dental problems, and then they do cosmetic treatments like whitening, veneers, bonding, or aligners in a planned order. In the end, your dentist makes final adjustments to ensure everything feels comfortable.
In this guide, we will explain each stage of the process, what you can expect, and how common dental problems are treated along the way.
Table of Contents
What Is a Smile Makeover?
A smile makeover is a personalized treatment plan that combines different dental procedures to improve the look of your smile. The treatments included depend on your goals and the condition of your teeth and gums. You can explore the full range of smile makeover options to see which treatments fit your concerns.
Common options include:
| Treatment | Purpose |
| Teeth whitening | Brightens discolored teeth |
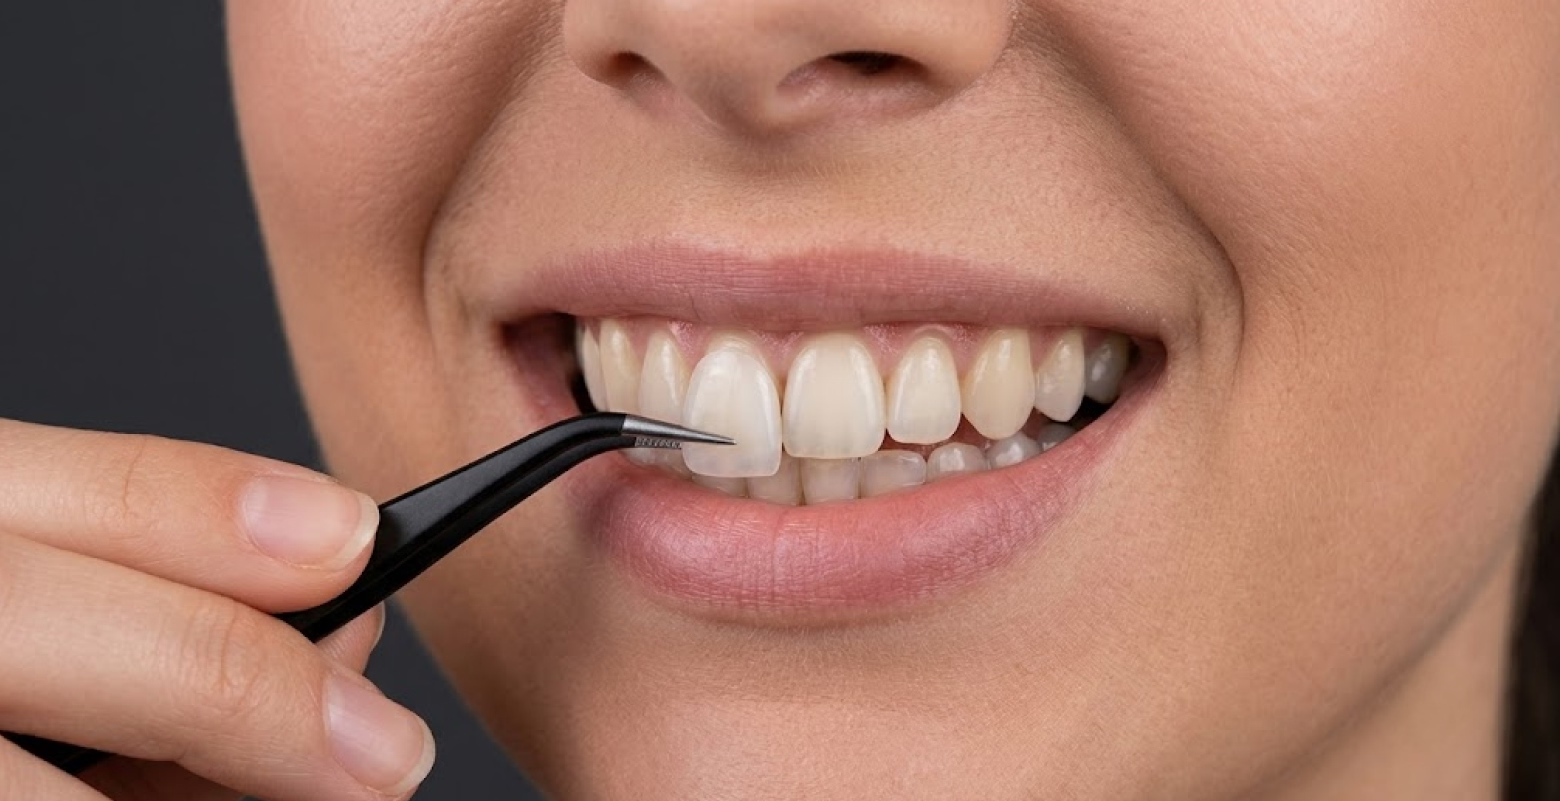
| Porcelain veneers | Improves the shape, size, or color of teeth |
| Dental bonding | Fixes small chips, cracks, or gaps |
| Clear aligners | Straightens misaligned teeth |
| Dental crowns | Restores damaged or weakened teeth |
| Dental implants | Replaces missing teeth |
| Gum contouring (gum lift) | Creates a more balanced gum line |
| Teeth reshaping (contouring) | Smooths uneven edges and improves symmetry |
How Does the Smile Makeover Process Work?
Your dentist will walk you through six main steps. Each step helps prepare for the next one, making the process smooth and organized. Below are the details.
Step 1: The Initial Smile Makeover Consultation
The first step is meeting with your dentist to discuss your smile goals. You’ll talk about any concerns you have, such as stained teeth, chips, gaps, crooked teeth, or missing teeth. The dentist will also ask about your medical history, previous dental treatments, and habits like teeth grinding.
This appointment is mainly for planning and discussion rather than treatment. Going in prepared makes a real difference, so it helps to review some practical smile makeover advice before your visit.
Step 2: Comprehensive Examination and Diagnostics
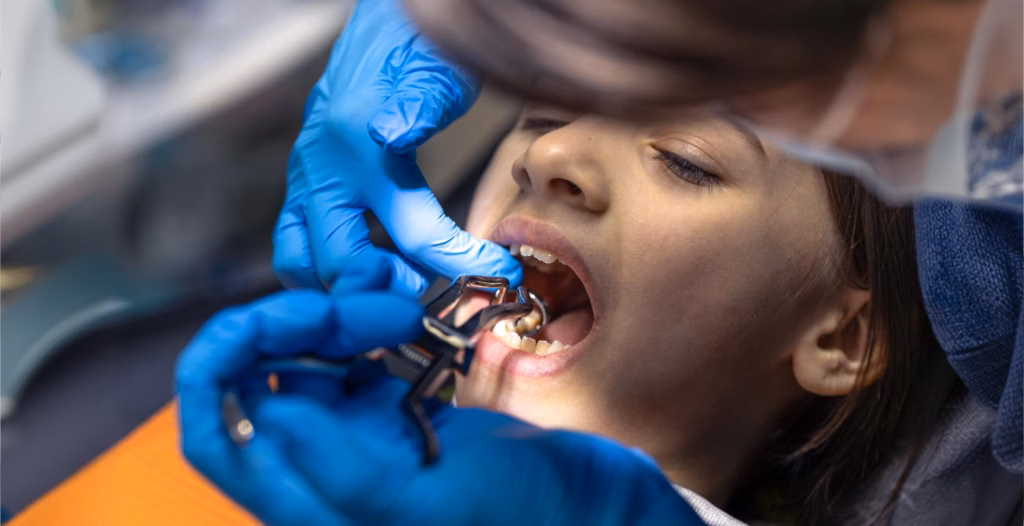
In this step, your dentist collects all the important information needed to plan your smile makeover. You will get a full check-up of your teeth, gums, bite, and jaw. Your dentist may also take digital X-rays, close-up photos, and a 3D scan to create a clear model of your mouth.
This helps find problems like cavities, gum disease, cracks, bite issues, or worn teeth. These issues must be treated first before any cosmetic work begins.
Step 3: Smile Design and Treatment Planning
After your examination, your dentist uses your scans and photos to design your new smile. Many clinics use digital smile design tools to show you how your teeth may look after treatment, including changes in shape, size, and color.
You may also get a mock-up (a temporary preview) so you can see and approve the result before any permanent work starts. The dentist will then give you a clear treatment plan showing the steps, timeline, and cost so you know exactly what to expect.
Step 4: Preparatory or Restorative Treatments (If Needed)
Before cosmetic work begins, your dentist will fix any existing dental problems. This may include composite fillings to clear cavities, deep cleaning to treat gum disease, extractions for teeth that can’t be saved, or bone grafting if you need dental implants and your jawbone needs reinforcement.
According to the American Dental Association’s consumer site, gum disease can lead to serious damage if not treated early. That’s exactly why your dentist treats it before placing veneers, crowns, or any other long-term cosmetic restoration.
Step 5: The Cosmetic Procedures (and Why the Order Matters)
The cosmetic phase follows a specific sequence because each procedure affects the next.
Teeth Whitening → Orthodontics → Dental Implants → Veneers/Crowns/Bonding → Gum Contouring
Teeth whitening almost always comes first, because veneers, crowns, and bonding cannot be whitened later. Once the natural teeth are at their target shade, the lab can match the restorations to that color.
If you need clear aligners or other orthodontic treatment, that usually comes next. It’s simpler and more effective to move your natural teeth into the right position than to cover misalignment with restorations.
Your dentist will place dental implants early in the process since the implant needs about three to six months to fuse with the jawbone before receiving the final crown. Healing periods like this are a big reason “how long a smile makeover takes” varies so much from patient to patient.
Once tooth alignment and implant healing are complete, your dentist can place veneers, crowns, or dental bonding to improve the shape, size, or appearance of your teeth
Veneers usually require a preparation visit and a second appointment one to two weeks later for placement. If you have an uneven gum line or excess gum tissue, gum contouring is typically the final step to create a more balanced, symmetrical smile.
Step 6: Final Adjustments and the Reveal
Once all procedures are complete, your dentist makes small refinements to ensure your new smile feels comfortable and natural. They check your bite so your upper and lower teeth meet evenly, polish your restorations for a smooth finish, and fix any rough edges or tight spots that could cause irritation.
You then see your final result, share your feedback, and approve the outcome. You usually return in about one to two weeks for a quick follow-up so your dentist can confirm everything still feels right after you’ve eaten, spoken, and slept with your new smile.
What If You Want a Change After Seeing the Final Result?
If you’re unhappy with how your smile looks, the most important step is to tell your dentist exactly what bothers you. Is it the color, shape, length, edge texture, or how the teeth feel when you bite down?
The path forward depends on which stage you’re at and what type of restoration you have.
1. If You’re Still in the Try-In or Temporary Phase
This is the easiest window for changes. Before permanent veneers or crowns are bonded, you’ll usually wear temporaries or see a try-in version, and the lab can resize, reshape, or recolor them based on your feedback.
Be as specific as you can: “the front two feel too long” or “the shade looks too gray in natural light”, so the permanent restorations come back exactly right.
2. If You Have Permanent Veneers, Crowns, or Bridges
Once these are permanently cemented, options narrow but don’t disappear. Small fixes like polishing rough edges, slight reshaping, or balancing your bite usually take just one short visit.
If you want bigger changes to the color, shape, or size of your teeth, your dentist may need to replace and remake the restorations. According to the Cleveland Clinic, porcelain veneers are not reversible, so your dentist must remove the existing veneers and have the lab create new ones.
Bring reference photos to your appointment to help your dentist achieve the look you want.
3. If You Had Composite Bonding
Bonding is the most forgiving option. Unlike porcelain veneers, dental bonding is reversible. Your dentist can polish, reshape, add more resin, or remove it entirely without damaging the natural tooth underneath.
4. If You Had Teeth Whitening
If the result is too bright, uneven, or not white enough, your dentist can fine-tune it. Take-home whitening trays can lighten the shade further over the following weeks. And if the teeth look too white right after an in-office session, the shade usually softens slightly on its own within the first few days.
How Long Will Your Smile Makeover Last?
Each procedure in your makeover has its own lifespan, so the total answer depends on what your treatment plan includes:
| Treatment | Typical Lifespan |
| Porcelain veneers | About 10-15 years with proper care |
| Composite bonding | About 5-7 years before needing polishing, repair, or replacement |
| Dental crowns | About 10-15 years or longer, depending on the material and your bite |
| Dental implants | The implant can last for decades or even a lifetime; the crown usually lasts 10-15 years |
| Teeth whitening | Results typically last 6 months to 3 years before a touch-up may be needed |
Aftercare and Long-Term Maintenance
A smile makeover is an investment, and how long it stays looking its best depends on what you do at home and how regularly you see your dentist. Good aftercare protects the work you’ve already paid for and keeps your results bright, even, and comfortable.
How Should You Care for Your New Smile at Home?

Strong home care for a smile makeover is mostly the same routine the ADA (American Dental Association) recommends for any healthy mouth, with a few extra precautions for restorations.
- Brush twice a day with a soft-bristled brush and a fluoride toothpaste, and clean between your teeth once a day with floss or another interdental cleaner.
- For porcelain veneers, a non-abrasive fluoride toothpaste (whitening pastes can scratch the surface) is recommended.
- Avoid biting directly into hard foods like apples, carrots, or tough meats. Instead, cut them up and chew with your back teeth.
- For about 48 hours after teeth whitening, avoid red wine, coffee, tea, and dark berries while the enamel rehydrates.
- If you grind your teeth at night, ask about a nightguard. Grinding is one of the fastest ways to chip a veneer or crack a crown.
Follow-Up Appointments and Professional Cleanings
Even with perfect home care, you’ll need regular checkups to keep your smile makeover in top shape. Most patients return every six months for a routine cleaning and exam, though your dentist may recommend more frequent visits if you had gum treatment as part of your makeover or if you’re prone to plaque buildup.
At each visit, your dentist inspects your restorations for wear, gum-line fit, and color match alongside the standard cleaning. If whitening was part of your plan, a light touch-up every 6 to 12 months helps keep the shade consistent.
FAQs
Can I go back to work after smile makeover appointments?
Most patients can return to work the same day. If you receive sedation, you’ll need someone to drive you home and should plan to rest for the remainder of the day. More complex procedures may require a short recovery period before you resume your normal routine.
Does dental insurance cover any of the smile makeover process?
Cosmetic treatments usually aren’t covered by insurance. However, restorative treatments like fillings, crowns, or gum treatment may be covered. Your dental office can check your plan and explain what benefits you can use.
Is the smile makeover process painful?
Most procedures use local anesthesia, so you feel little to no pain during treatment. Some sensitivity afterward is normal and usually fades within a few days.
How many appointments does a smile makeover take?
Most smile makeovers require 3 to 8 appointments, depending on the treatments you need. Simple cases may take only 2 visits, but more complex ones usually require several additional appointments.
What’s the difference between a smile makeover and full-mouth reconstruction?
A smile makeover focuses on cosmetic improvements you choose. Full-mouth reconstruction is medically necessary work to restore function after damage, decay, or bite problems.
How much does a smile makeover cost?
Cost varies widely depending on the treatments you need. Simple smile makeover plans like whitening may cost around $100–$1,000 (per session), while more comprehensive treatments involving veneers, crowns, or implants can range from $2,000 to $30,000 or more.
Conclusion
Thanks for being with us till the end. The smile makeover process is a carefully planned journey that moves step by step, from consultation and diagnosis to treatment, final adjustments, and long-term care.
Each stage plays an important role in creating a balanced, natural-looking smile that suits your needs. Hopefully, our guide helps you feel more prepared and confident before starting treatment. Good luck!